Starting a creative project is like sailing on a journey of expressing yourself and creating beauty.
Ad
Hand embroidery is an art form with a long history that still fascinates people today.
Because embroidery is tangible and complex, artists can use it to tell stories, make people feel things, and create timeless pieces. In this guide, we look at the history of hand embroidery, the most important tools you need, and how to start your project step by step.
Ad
1. Hand Embroidery Art:
Hand embroidery has been an important part of human culture for thousands of years, dating back to the earliest civilizations. Across cultures, this art form takes many forms, from intricate patterns on royal garments to folk embroidery passed down from generation to generation. To this day, it remains a flexible and expressive craft that allows people to add their style to the fabric.
2. Select Project:
Before you start hand embroidery, it is important to choose a project that suits your interests and skill level. Whether you are a beginner or an experienced embroiderer, there are plenty of options. Start with something small, like a handkerchief, a pillowcase, or even a simple embroidery hoop artwork. As your confidence and skill level increase, you can move on to more intricate designs, clothing, or even framed wall art.
Ad
3. Tools and Materials Required:
Make sure you get all the tools and materials you need to start embroidering. To get you started, here’s a simple list:
- Embroidery frame: This round frame holds the fabric taut, making it easier to sew.
- Fabric: Choose a fabric that is suitable for your project. Cotton is a popular choice for beginners because it is easy to sew.
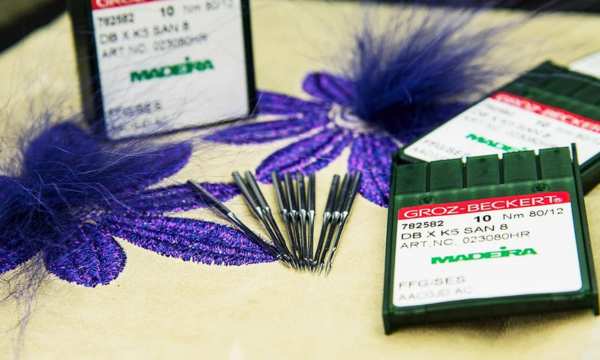
- Embroidery Needle: Choose an embroidery needle based on the thickness of the embroidery thread and the fabric you will be using.
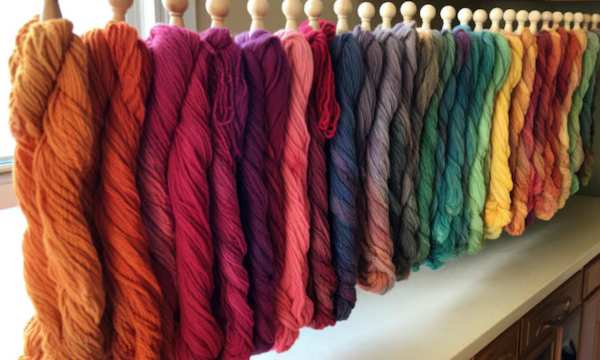
- Embroidery thread: Embroidery thread is a colored thread used for sewing. Available in different colors to bring your design to life.
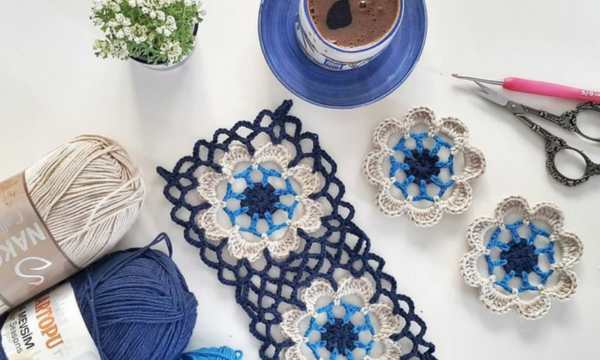
- Scissors: You will need very sharp embroidery scissors to cut the thread neatly.
- Water Soluble Marker: You use this to draw your design on the fabric.
- Pattern or Design: It’s crucial to have a stitch guide whether you create your pattern or use one that someone else has created.
4. Prepare Your Workspace:
Make sure there is a well-lit area where you can sew so that you can see your work. Organizing your supplies so you can easily find them will make the creative process more fun and efficient.
5. Choose the Needle:
There are several embroidery stitches you can try, each adding a different look and feel to your project. For those just starting, it’s best to start with simple stitches such as running stitches, satin stitches, and French knots. As your skills improve, you can try more difficult stitches such as chain stitch, feather stitch, and gold and silver buttons.
6. Communicate Your Design:
Once you’ve chosen your design, use a water-soluble fabric marker to place it on your fabric. This temporary mark helps you sew and disappears after gentle washing or immersion in water.
7. Place the Embroidery Hoop on:
An embroidery hoop consists of two parts. Take your inner hope and place it under your clothes. Make sure the fabric is stretched evenly, then tighten the outer rings to hold them in place. This method creates a smooth surface suitable for embroidery.
8. Experiment with Colors and Textures:
One of the great things about hand embroidery is that you can experiment with different colors and textures. You can mix and match yarn colors, use variegated yarn to create an ombre effect or add beads and sequins to make the project look more glamorous. When you try new things, your projects become more unique and personal.
9. Troubleshooting Tips:
There are a few questions that may arise when starting a hand embroidery project. To resolve common issues, here are some troubleshooting tips:
- Sticks and Buttons: To prevent embroidery thread from tangling, cut the thread into shorter pieces and be careful not to make knots while sewing.
- Uneven Stitches: It takes practice to get the same stitches. Watch your tension and make sure you sew regularly.
- How to choose the right needle: Make sure the needle is the right size for the fabric. Larger needles can leave visible holes, while smaller needles can have problems with thicker fabrics.
- Transferring designs: If you are having trouble transferring your designs, you may want to use an iron-on transfer or lightbox for better results.
Conclusion
Hand embroidery is more than just a hobby; it’s an art form that allows you to bring your ideas to life with every stitch. There are so many different things you can do if you start with the basics and slowly add new stitches and techniques. As you progress with embroidery, you will enjoy creating unique items that show off your personality and love of craftsmanship. Once you have everything you need, choose a design that suits you and start creating your embroidery.
FAQs
1. What is hand embroidery? Why is it so popular?
Hand embroidery is an ancient craft that uses needles and threads to decorate fabrics. It is popular because it can be used in so many different ways, allowing people to express their creativity and create unique physical works of art.
2. What do you need to start your embroidery project?
You will need a fabric embroidery hoop, a needle, embroidery thread, scissors, a water-soluble fabric marker, and a pattern or design to help you sew.
3. How do I choose a project that is right for my skill level?
If you are new to sewing, start with a small project such as a handkerchief or a pillowcase. As your confidence grows, you can move on to more intricate designs or larger garments.
4. Does it matter which fabric is used for embroidery?
You can embroider on many fabrics, but cotton is often the best choice for beginners because it is easy to sew. Choose a fabric that suits your project and will serve its purpose.
5. What are some simple stitches for someone new to embroidery?
For example, you can use running stitches to outline, satin stitches to fill in, and French knots to add texture. As you get better, you can try more difficult stitches.
6. What is the best way to print a design on fabric?
You can use water-soluble fabric markers to draw your design on fabric. This temporary marker helps you place your stitches and can be easily washed away with water.


